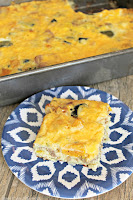
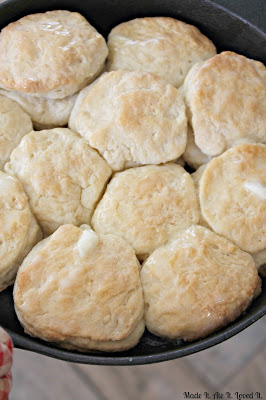
Cast Iron Biscuits and Gravy
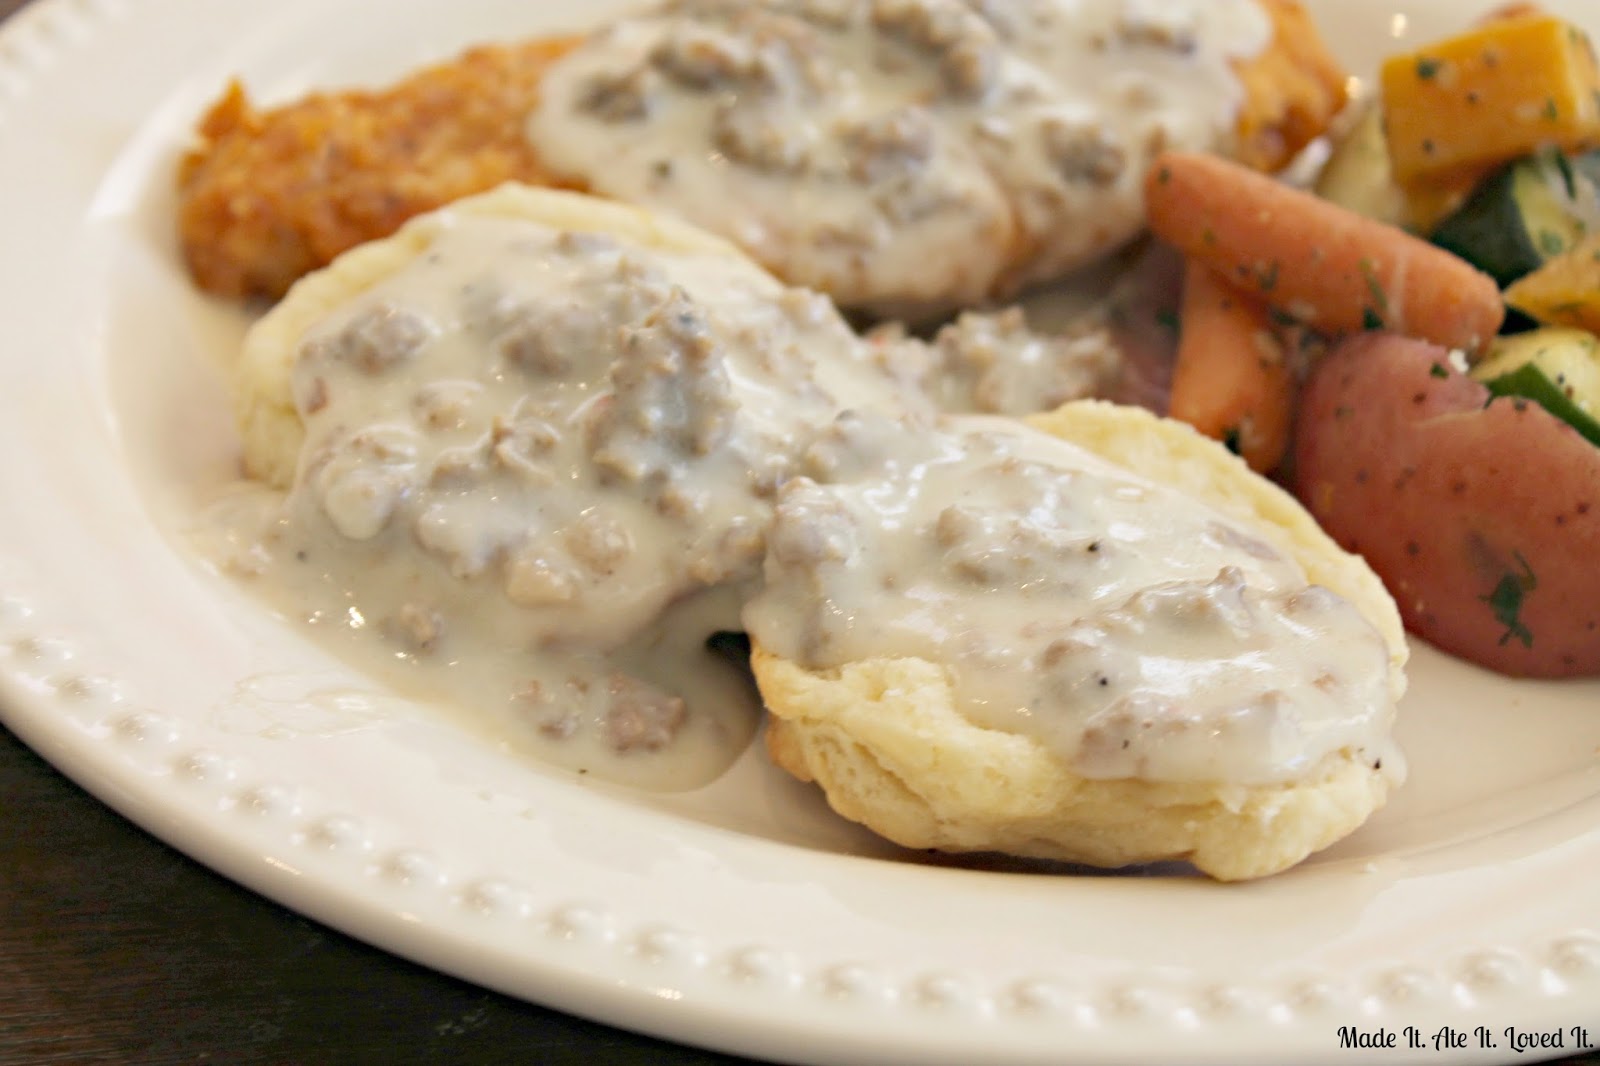
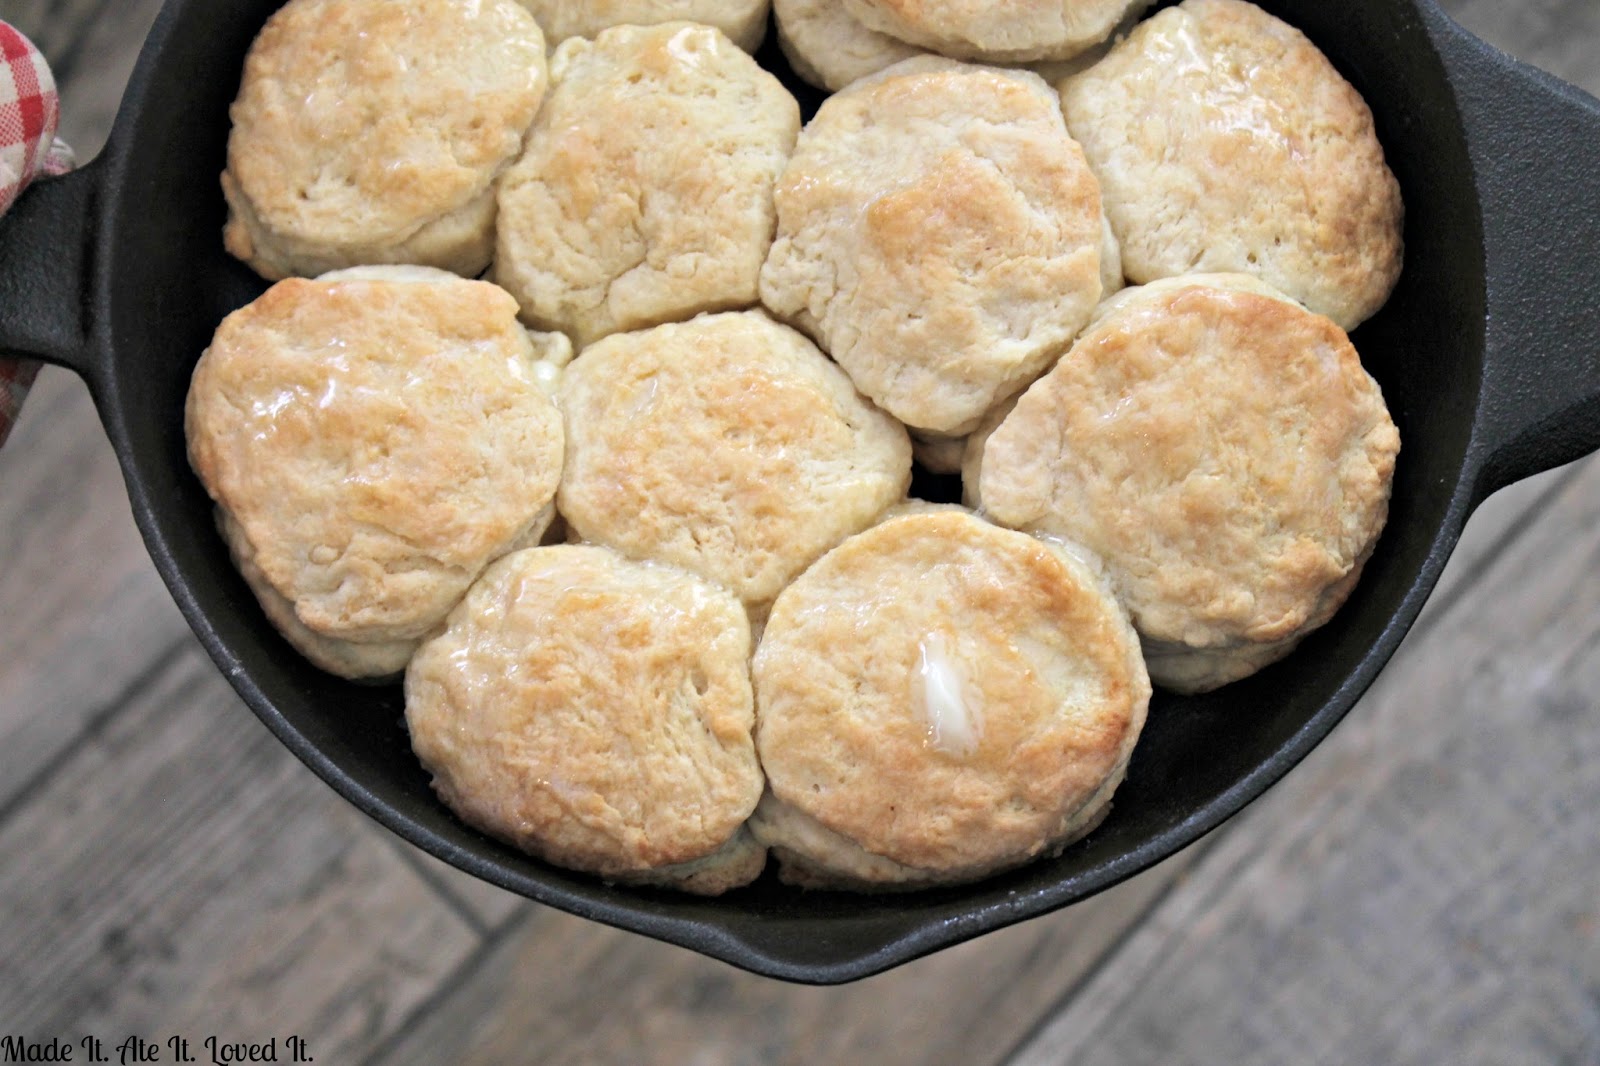
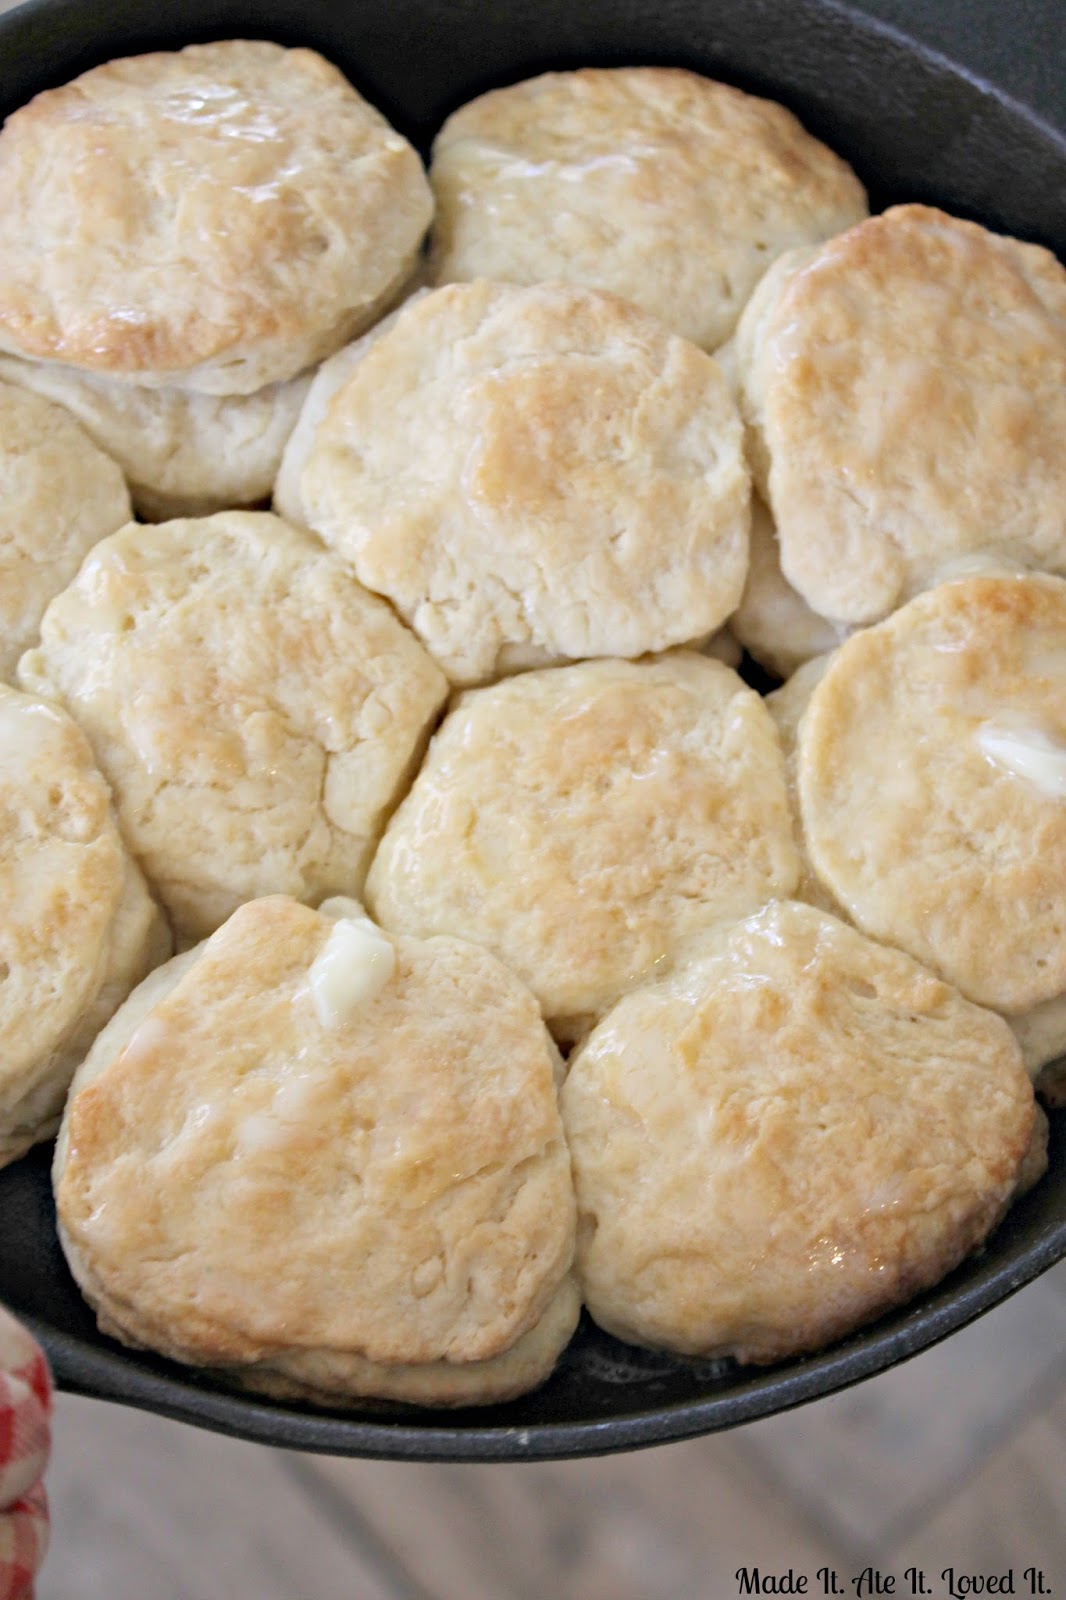
Biscuits and gravy are my favorite breakfast food ever. Like that is always the first thing I ask a waitress when I am at a breakfast place is if they have good and popular biscuits and gravy. If they say yes I give them a try. I am a bit of a biscuits and gravy snob. I am as picky as they come when it comes to this dish! My husband absolutely loves biscuits…gravy on them not so much! So he eats his with homemade jam and I go for the gravy. Slowly one by one my kids are coming over to the dark side and giving biscuits and gravy a try! I grew up loving biscuits and gravy with my sister. Her and I are two peas in a pod when it comes to biscuits and gravy. She is as tough of a critique as I am when it comes to biscuits and gravy. This recipe is our go to for gravy! I recently have been using my cast iron pan for more and more things. This was the first time that I gave biscuits a try in them. They were yummy you just have to make sure that the bottoms don’t get too dark. So keep an eye out for that. And if the tops start to get too brown before the center is cooked lay a piece of tin foil on top of them to make sure they don’t get over cooked on the tops before they get cooked in the center!
Cast Iron Biscuits and Gravy
Ingredients
Instructions
2 1/2 cups flour
1 1/4 cups buttermilk
1/2 cup butter, cold
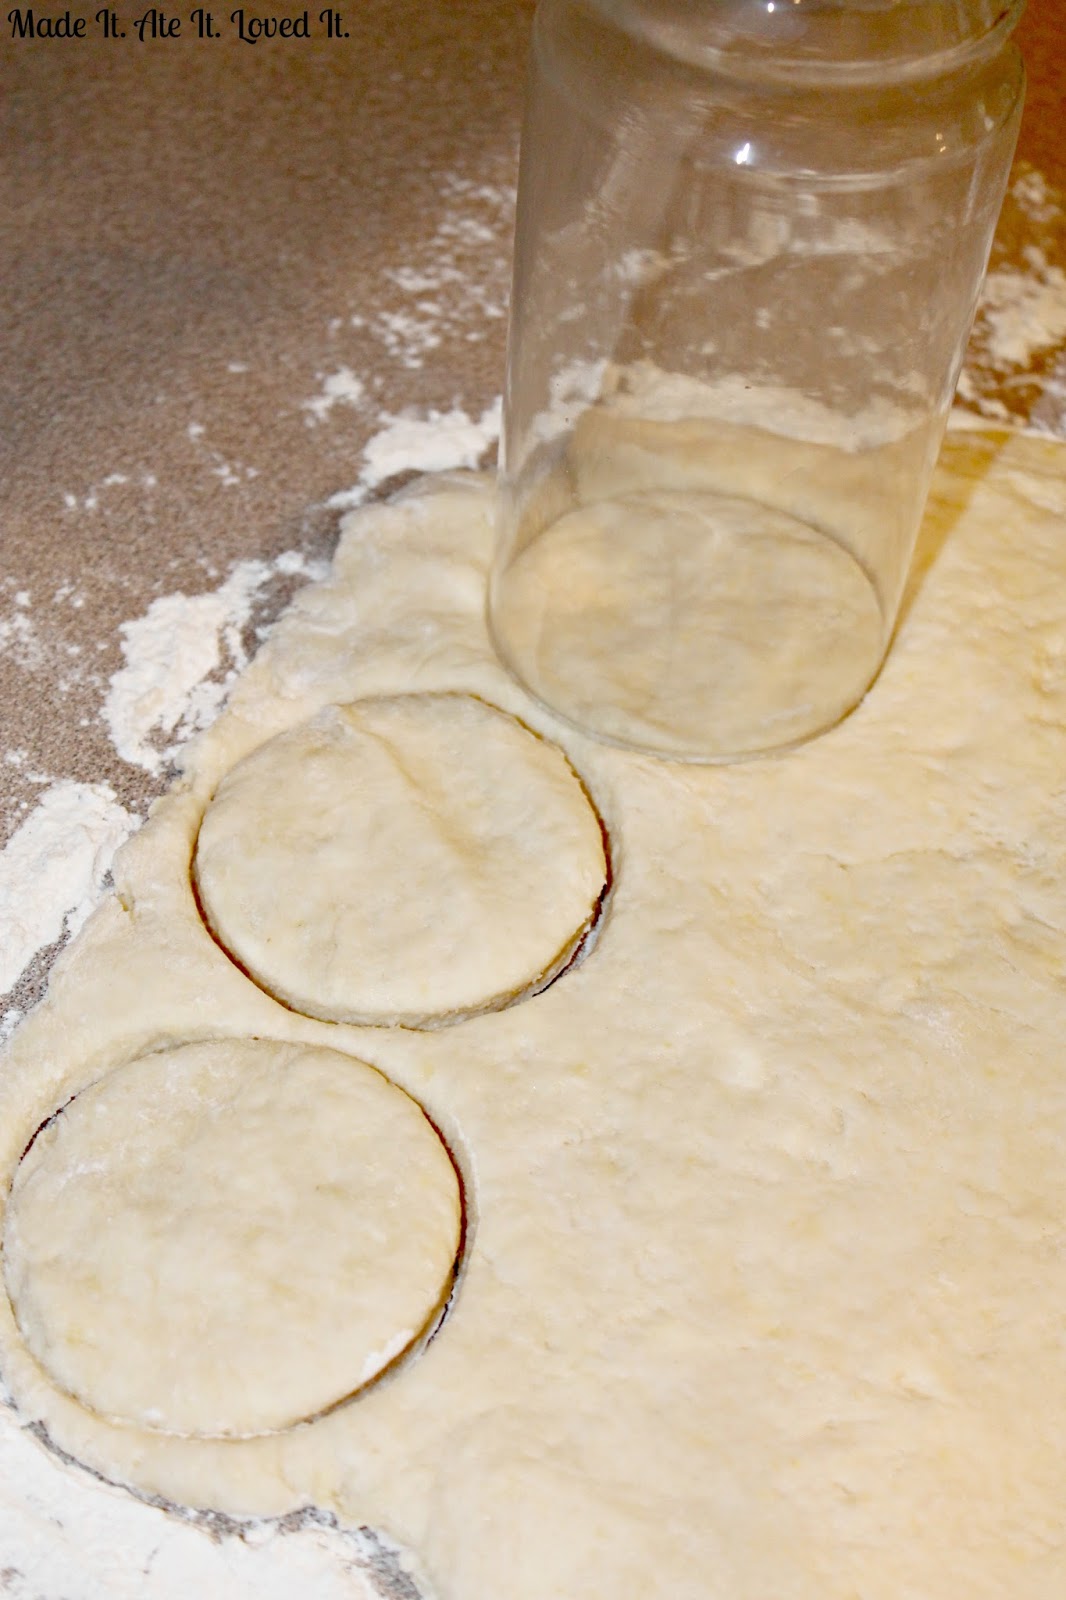
Preheat oven to 400 degrees F. In a large bowl add the flour and then cut in the butter using a pastry blender. Add the buttermilk and lightly mix the dough together with your hands. If the dough is too wet add more flour. Sprinkle some flour onto your countertop and place the dough on top of it. Knead the dough more if you need to but do not overwork or your biscuits will be hard. Pat the dough down until it is about 1/2 inch think. Use rolling pin if you need to. Use a glass or biscuit cutter to cut the dough into biscuit shapes. Gently press down the glass or cutter and push down. Do not twist it! That that break the seals on the sides of the biscuits and they will not rise. Grab your cast iron pan and gently grease it. Place each biscuit into the cast iron pan. Brush the biscuits with melted butter and place them in the oven for 12-15 minutes or until golden brown. When they come out of the oven brush them with more butter then serve!